
How to build a drag and drop list in Svelte
December 22, 2023
For re-ordering things in a list, nothing beats a drag and drop interface. In this tutorial, we'll build a drag and drop list in Svelte. You might find that it's simpler than you expected; there are no third party packages required, only native browser APIs. The only thing specific to Svelte will be how we respond to drag and drop events.
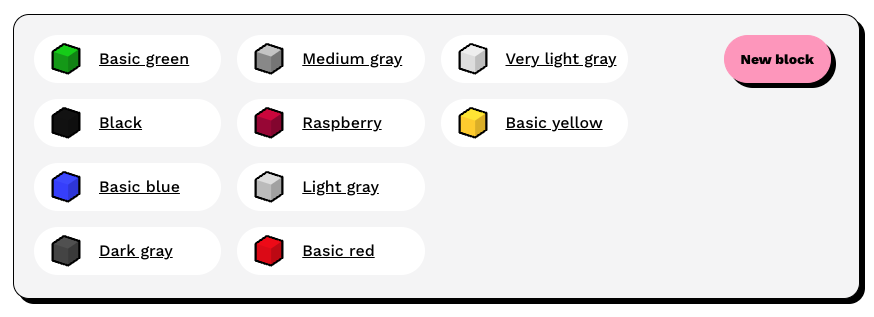
In my game, Cities 4 Sale you build products with blocks, which you have to farm. In the game interface for farming blocks, you choose from a variety of colors, which I wanted in rainbow order. So I needed a drag-and-drop interface on my admin page to sort the blocks. Here it is, with blocks sorted by hex color (doesn't work):
Here is the markup for the list. I'm using Tailwind for the styles:
<ul class="columns-3">
  {#each items as item, index (item.id)}
    <li class="flex items-center justify-start mb-4 px-4 rounded-full bg-white"
    >
      <SmallBlock color={item.color_hex} />
      <button on:click={() => editBlock(item)} class="btn btn-link"
        >{item.name}</button
      >
    </li>
  {/each}
</ul>
Drag it
Let's add drag-n-drop! We'll add event handlers on the list container and list items. For the list container, we'll handle the drop and dragover events. The preventDefault event modifier on the dragover event will allow other events to fire on list items.
<ul
  on:drop={handleDrop}
  on:dragover|preventDefault={handleDragOver}
>
For the list items, the key attribute is draggable. This makes the browser create a ghosted image of the item being dragged that follows the cursor, and fires all the drag events. The other event handlers allow us to capture indexes (defined in the #each logic block) of where the dragged item started and where it will end.
<li
  draggable="true"
  on:dragstart={() => handleDragStart(index)}
  on:dragenter={() => handleDragEnter(index)}
>
Let's define some properties and a dragstart handler, then we define some event handlers for the list item events, which just capture indexes.
let dragStartIndex
let dragEnterIndex
let dropIndex

function handleDragStart(index) {
    dragStartIndex = index
}

function handleDragEnter(index) {
    dragEnterIndex = index
}
The dragover event fires every frame while the item being dragged is over the unordered-list element. It constantly re-calculates the drop index based on if the pointer is over the top half or bottom half of the target, using the data in the event. If it is the top half, the user is trying to drop the item into the same place as the target, otherwise, they want it after that item:
function handleDragOver(e) {
  const targetTop = e.target.getBoundingClientRect().top
  const targetHeight = e.target.getBoundingClientRect().height
  const yLoc = e.clientY - targetTop
  if (yLoc < targetHeight / 2) {
    // top half - replace item at index
    dropIndex = dragEnterIndex
  } else {
    // bottom half - place after item
    dropIndex = dragEnterIndex + 1
  }
}
Drop it
Finally, we handle the drop. This handler will only fire if the dragged item is over the container, so we don't need to worry about it being dropped outside. This first line checks if the start and end indexes are the same; if so we don't need to do anything.
The rest of the function is just re-ordering the list and reassigning the array so that Svelte updates it in the DOM.
function handleDrop() {
  if (dragStartIndex === dropIndex) return
  const draggedItem = items[dragStartIndex]
  const newItems = [...items]
  newItems.splice(dragStartIndex, 1)
  newItems.splice(dropIndex, 0, draggedItem)
  items = newItems
}
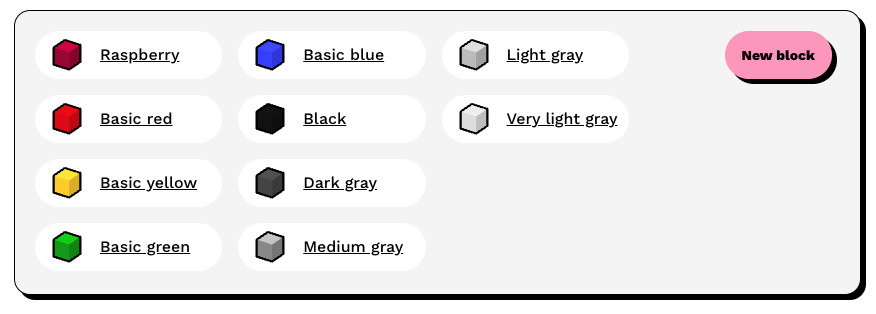
Now we can re-order our list! Much better.
Wrapping up
This tutorial was a total drag! But I hope you enjoyed it. Here are a couple tips to keep in mind when implementing drag and drop:
- This code doesn't work on touch interfaces. It may be possible by responding to touch events, but I haven't tried.
- The ghost image by default is square - if your items have rounded corners, you can make list items have a relative position and give them a z-index, and the ghost image will be transparent!
Here's a link to the MDN docs in case you need it. See you in the next article!